![]()
Introduction to OpenCTI
OpenCTI is an open-source threat intelligence platform similar to MISP. It is relatively newer and offers a solution to manage, analyze, and visualize threat data. OpenCTI can be integrated with the MITRE ATT&CK framework to structure the data efficiently and can also be connected with MISP for enhanced functionality.
Main Features/Characteristics of OpenCTI
- Manage, analyze, and visualize threat data: OpenCTI allows you to manage threat intelligence data effectively and provides tools to analyze and visualize it.
- Open Source: As an open-source platform, OpenCTI is accessible to everyone and can be customized according to your needs.
- MITRE ATT&CK Integration: It supports the integration of the MITRE ATT&CK framework, helping to structure and analyze threats systematically.
- MISP Integration: OpenCTI can be integrated with MISP, allowing for better threat intelligence sharing and collaboration.
Comparison to MISP
When comparing OpenCTI to MISP, several differences stand out:
- Modern Technology Stack: OpenCTI utilizes a more modern and scalable technology stack, including a React frontend, GraphQL, Elasticsearch, Redis, and MinIO. Its connectors run as microservices, offering flexibility and scalability.
- MISP’s Simpler Stack: MISP, on the other hand, relies on an older but reliable technology stack, primarily using MySQL and Redis, with fewer dependencies.
- Open Source vs. Enterprise: MISP is fully open source and free to use, while OpenCTI requires an enterprise subscription for access to some advanced features.
- Maturity vs. Usability: MISP is more mature and widely adopted, whereas OpenCTI is easier to use, thanks to its modern interface and tools.
Adding an External Connector to OpenCTI
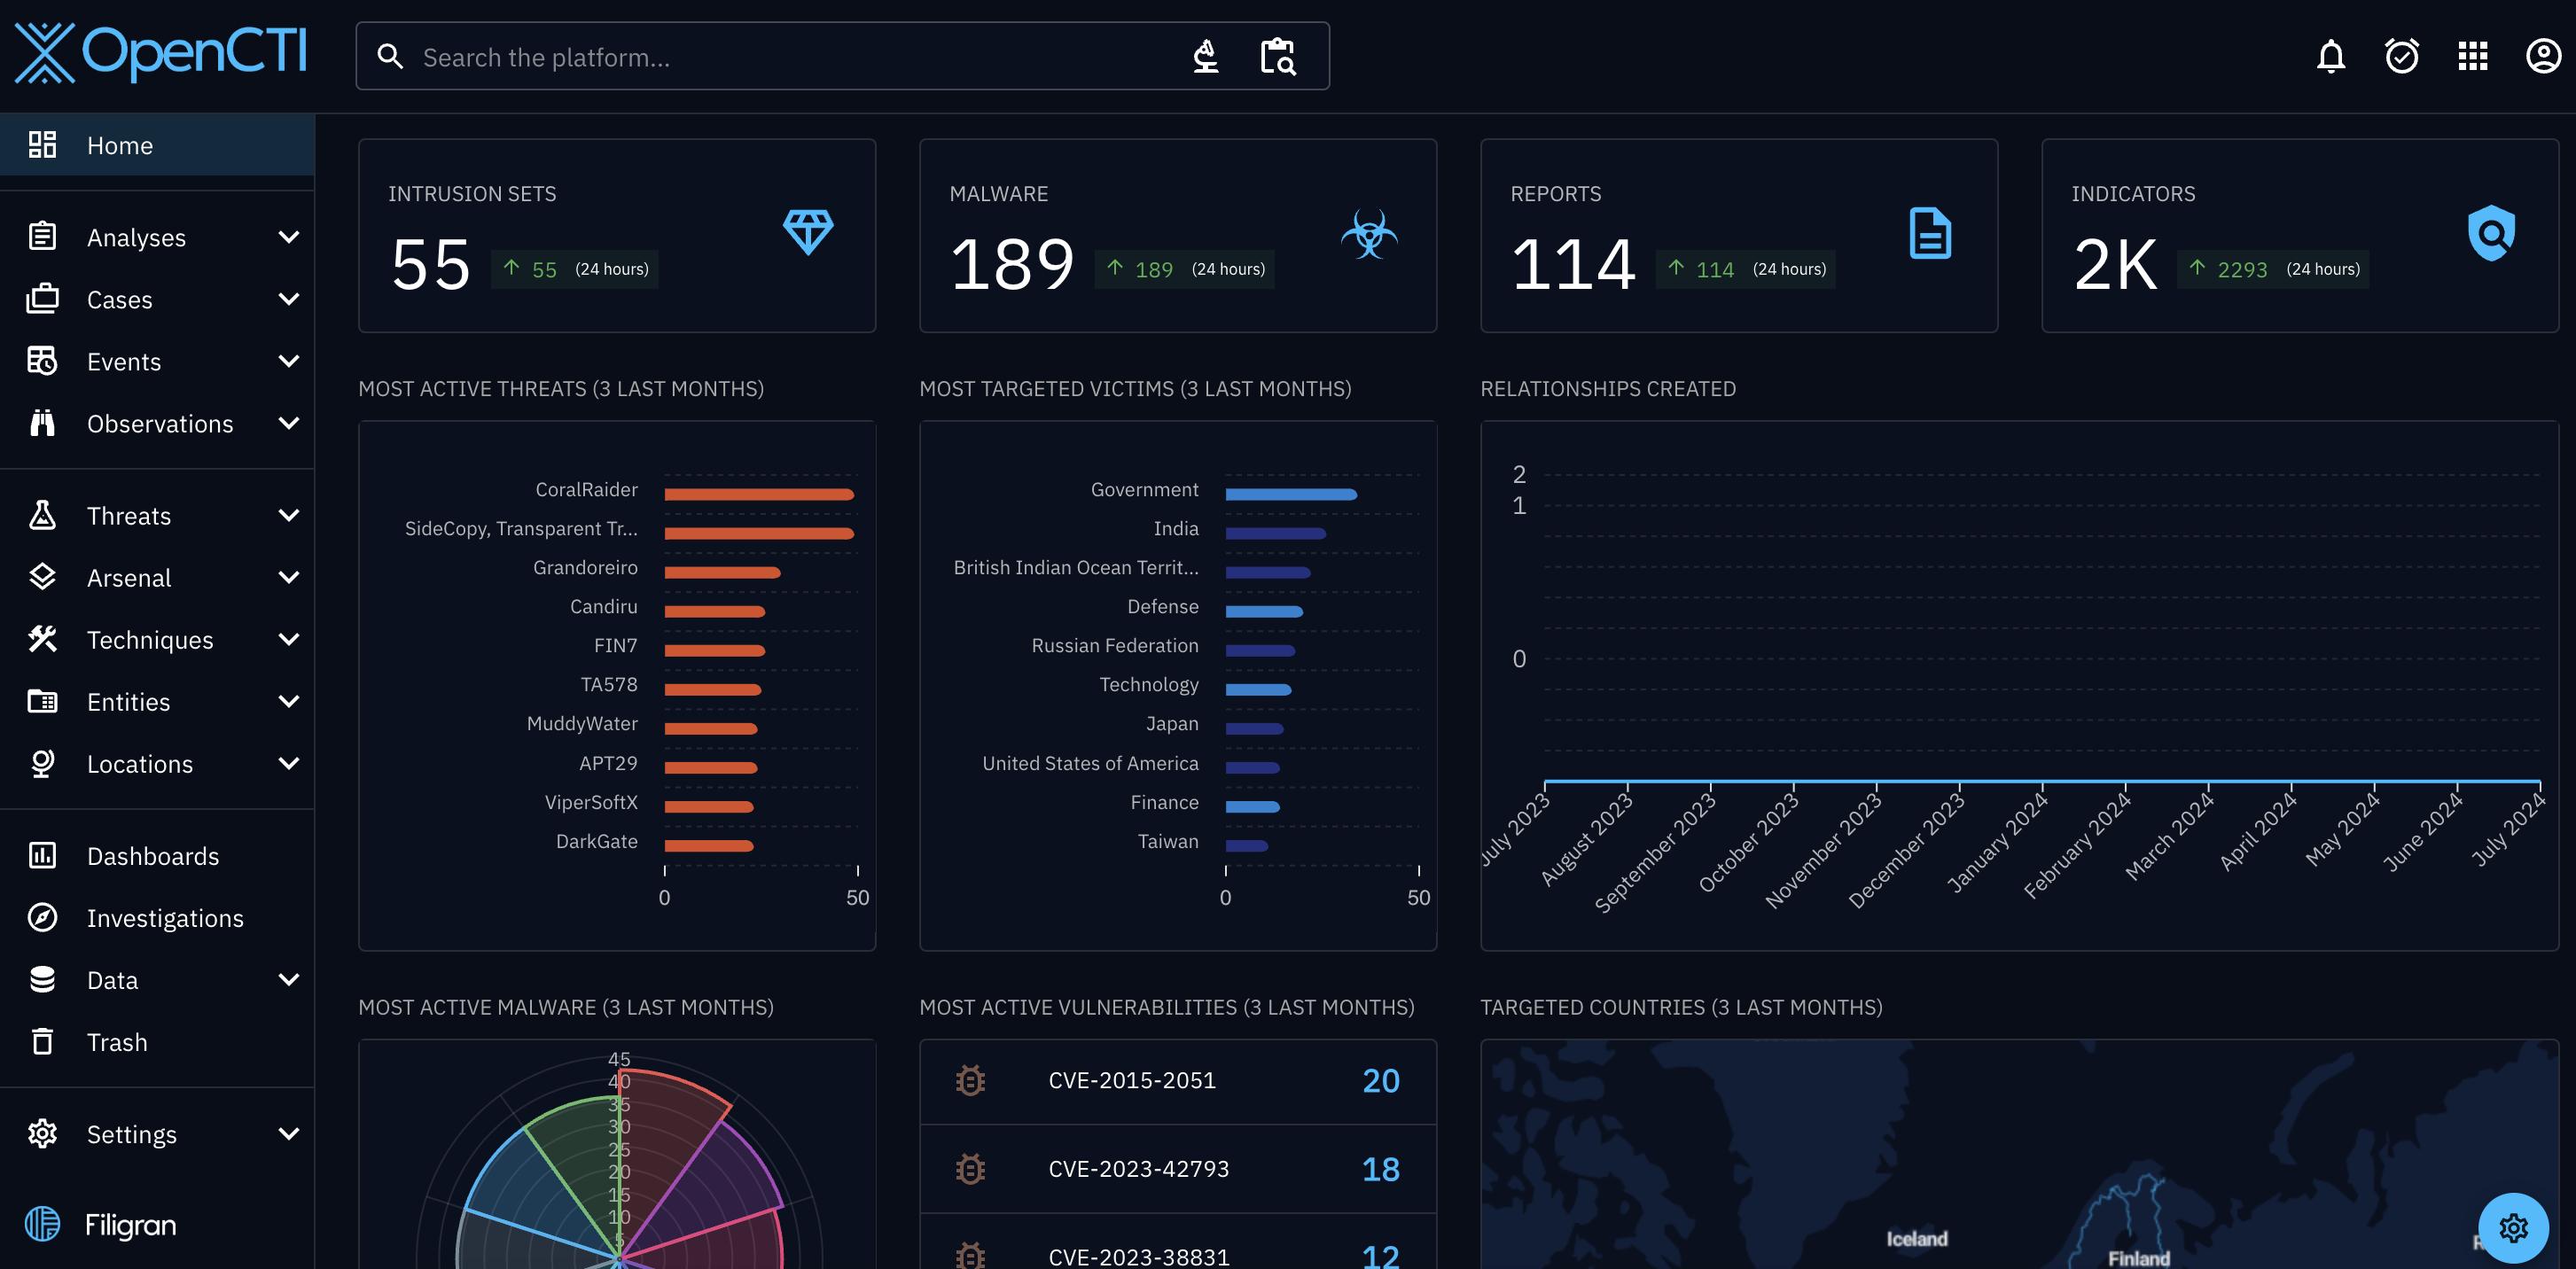
One of the powerful features of OpenCTI is its ability to connect with external or internal services to import threat intelligence data. This is important because the Dashboard of OpenCTI looks like this after a fresh install without any connectors configured:
![]()
To change this I will walk through the steps to add an external connector, specifically AlienVault, to OpenCTI.
External Connectors
External connectors for OpenCTI can be found in the following GitHub repository: OpenCTI Connectors - External Import.
Connecting AlienVault to OpenCTI
What is AlienVault?
AlienVault is a widely-used threat intelligence platform that provides real-time threat data and analysis. Integrating AlienVault with OpenCTI allows you to leverage its data within the OpenCTI ecosystem.
Getting the AlienVault Connector
You can obtain the AlienVault connector from the official OpenCTI GitHub repository: AlienVault Connector - Docker Compose.
Before you proceed, ensure you have created an AlienVault API key, which is necessary for the integration.
Configuring the AlienVault Connector
Adding the AlienVault connector to your OpenCTI stack is straightforward. The simplest way to do this is by including the connector in your already existing Docker Compose file as shown below:
  connector-alienvault:
    image: opencti/connector-alienvault:6.2.14
    environment:
      - OPENCTI_URL=http://opencti:8080
      - OPENCTI_TOKEN=${OPENCTI_ADMIN_TOKEN}
      - CONNECTOR_ID=${CONNECTOR_ALIENVAULT_ID}
      - CONNECTOR_NAME=AlienVault
      - CONNECTOR_SCOPE=alienvault
      - CONNECTOR_LOG_LEVEL=error
      - ALIENVAULT_BASE_URL=https://otx.alienvault.com
      - ALIENVAULT_API_KEY=${ALIENVAULT_OTX_KEY}
      - ALIENVAULT_TLP=White
      - ALIENVAULT_CREATE_OBSERVABLES=true
      - ALIENVAULT_CREATE_INDICATORS=true
      - ALIENVAULT_PULSE_START_TIMESTAMP=2024-05-01T00:00:00
      - ALIENVAULT_REPORT_TYPE=threat-report
      - ALIENVAULT_REPORT_STATUS=New
      - ALIENVAULT_GUESS_MALWARE=false                                        # Use tags to guess malware.
      - ALIENVAULT_GUESS_CVE=false                                            # Use tags to guess CVE.
      - ALIENVAULT_EXCLUDED_PULSE_INDICATOR_TYPES=FileHash-MD5,FileHash-SHA1  # Excluded Pulse indicator types.
      - ALIENVAULT_ENABLE_RELATIONSHIPS=true                                  # Enable/Disable relationship creation between SDOs.
      - ALIENVAULT_ENABLE_ATTACK_PATTERNS_INDICATES=false                     # Enable/Disable "indicates" relationships between indicators and attack patterns
      - ALIENVAULT_INTERVAL_SEC=1800
    restart: always
    depends_on:
      - opencti
Starting the Connector
After configuring the connector, restart your OpenCTI stack by running docker compose up -d. This will start the connector and establish a connection with OpenCTI.
If everything is configured correctly, the connector should appear with an “active” status under Data -> Ingestion -> Connectors. Note that it may take some time for the connector to start loading data into OpenCTI.
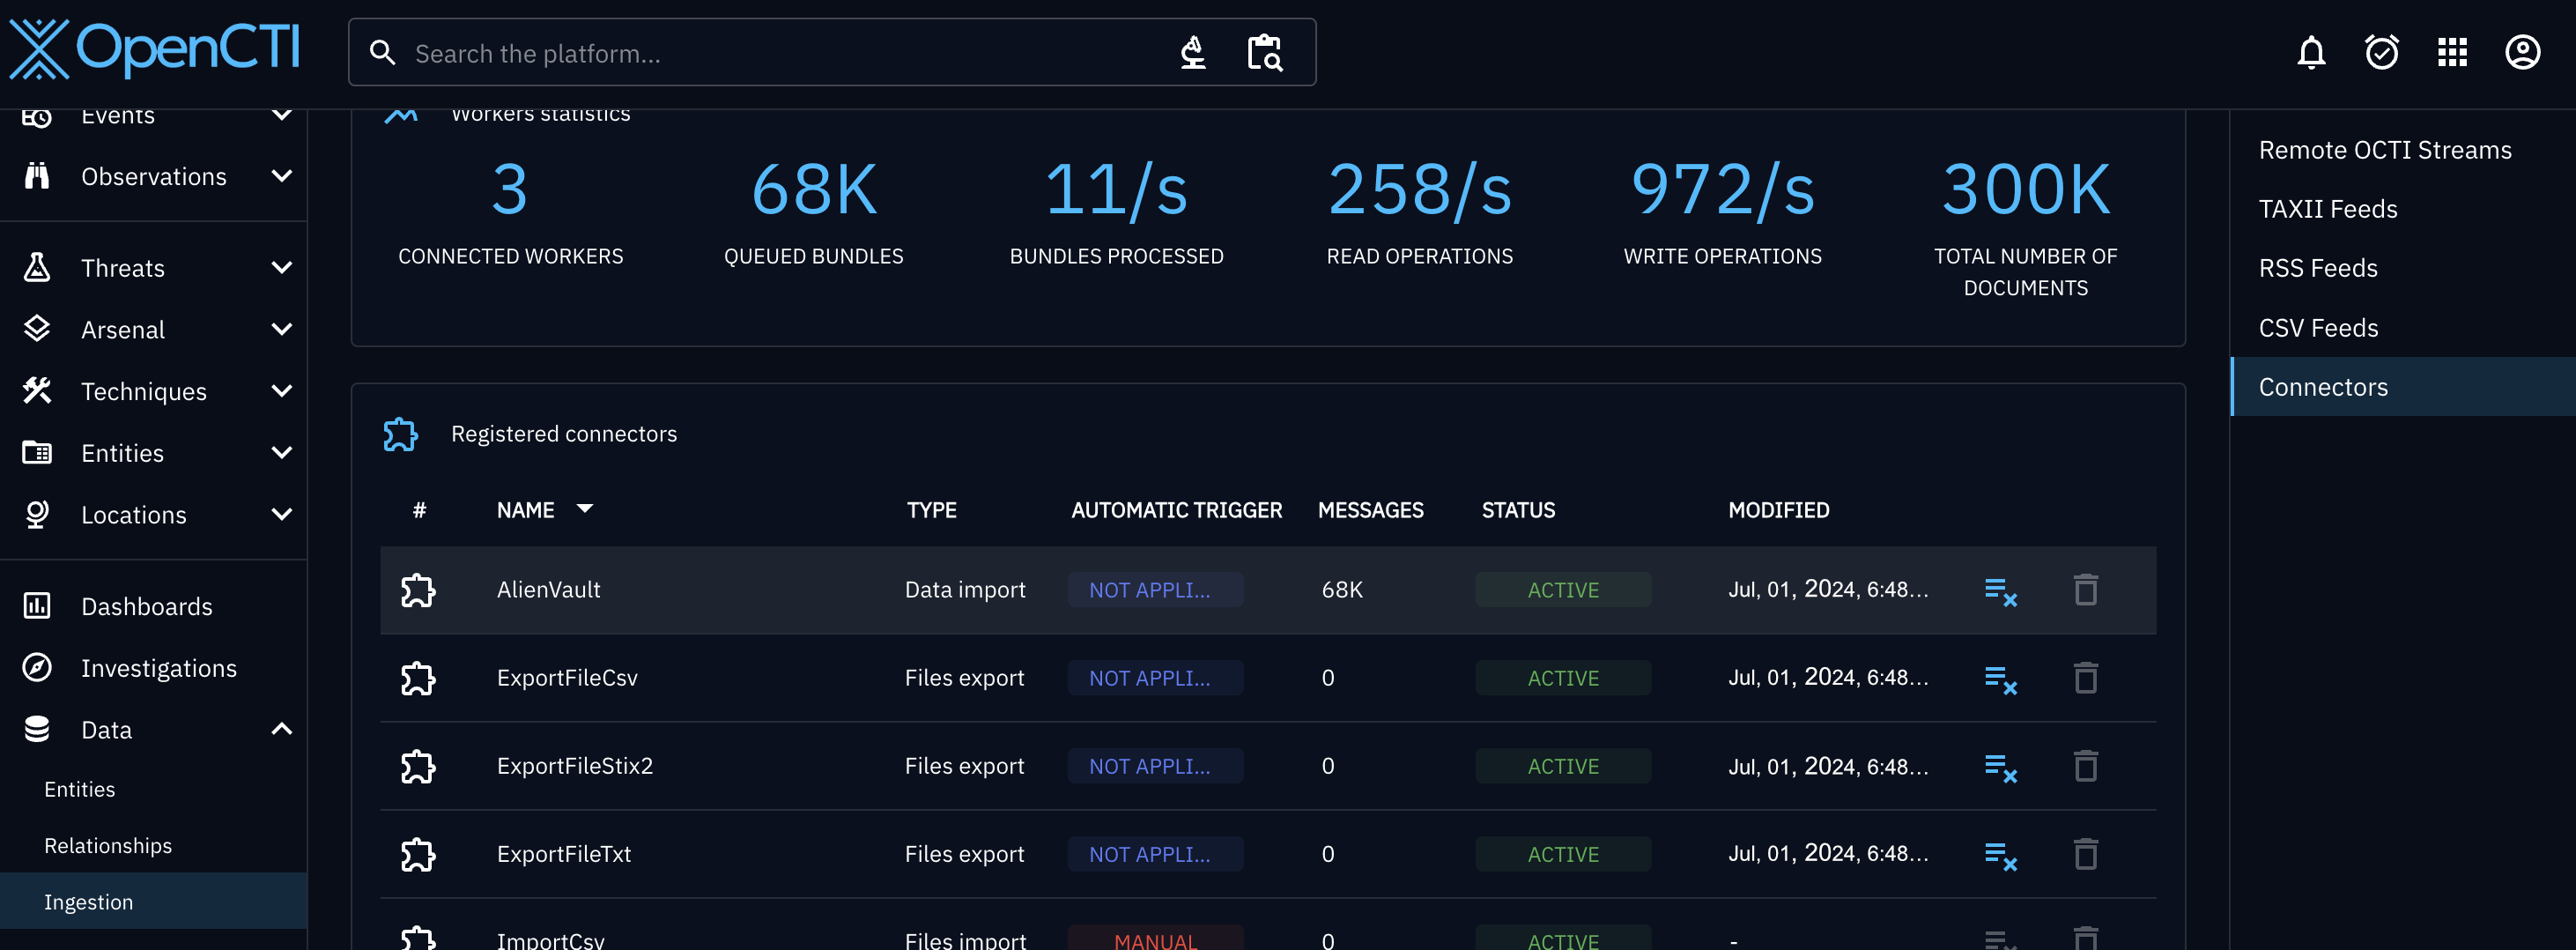
Once the data begins flowing, you should see threat data displayed on your OpenCTI dashboard.
Now you can play around with the data and investigate IoCs!